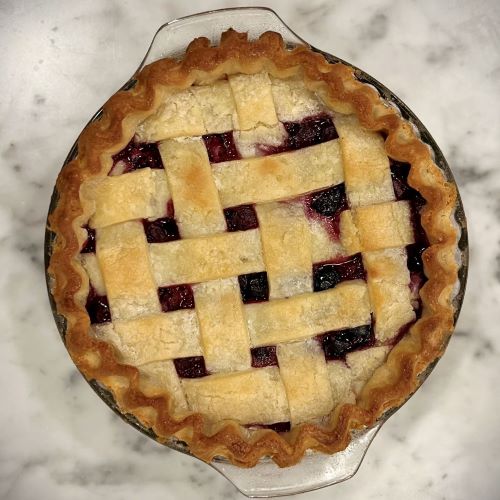
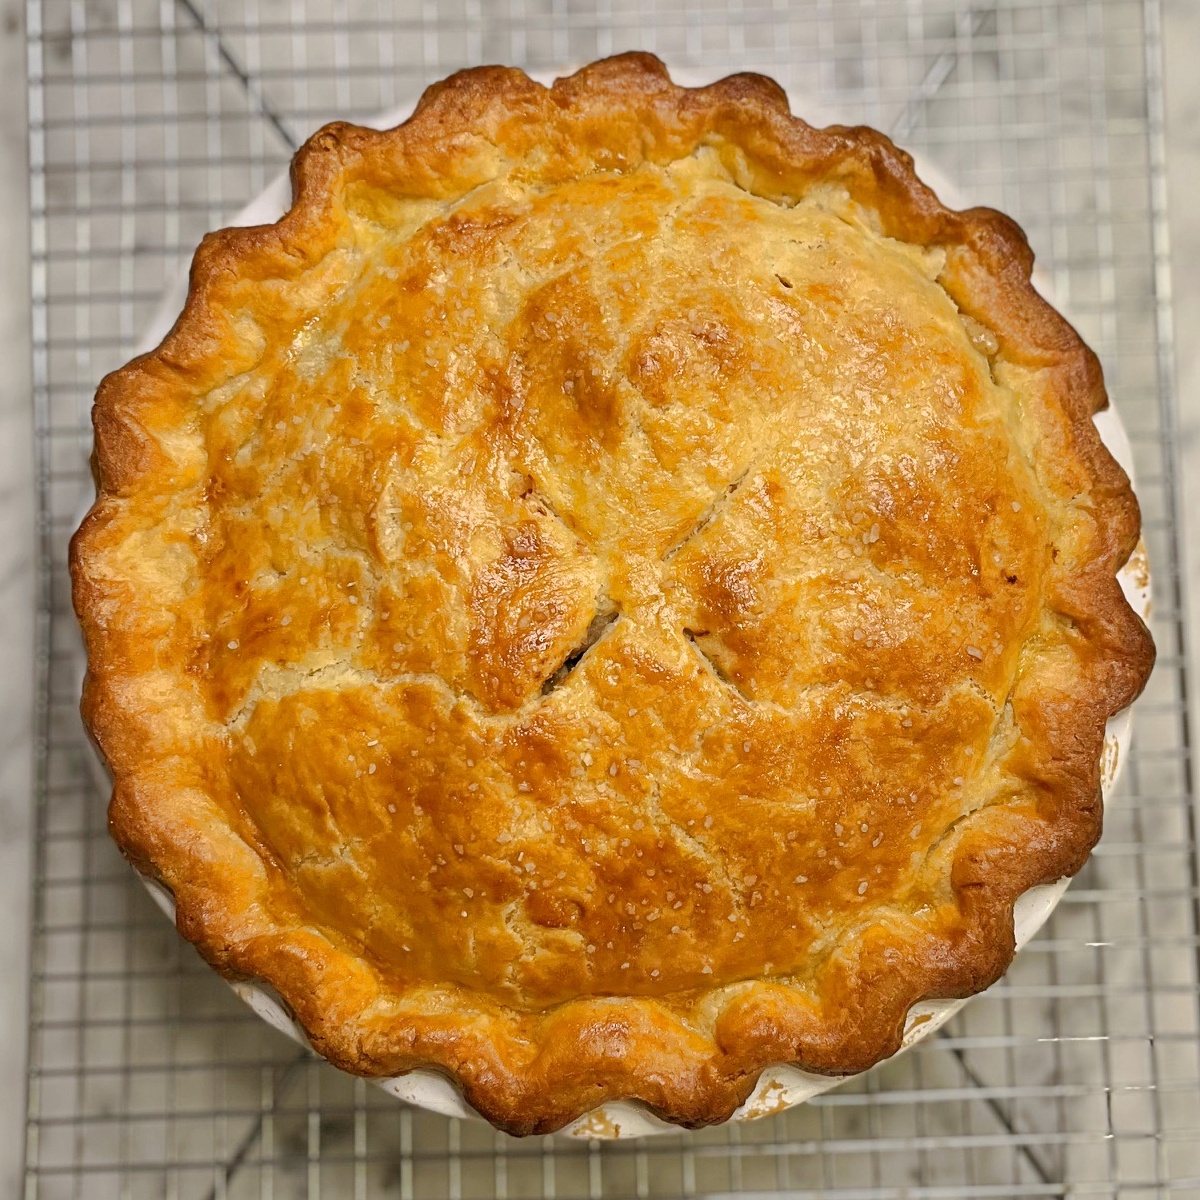
Who doesn’t love homemade pie? Pies are one of the most versatile and delicious food creations around, perfect as a sweet dessert or a savory main dish. For me, a pie can conjure up memories of holidays (pumpkin and mincemeat), summer picnics (apple and cherry), and even a breakfast treat (who doesn’t like leftover pie for breakfast). Pies are the food world’s chameleon!
However, if you eat gluten-free, you might think you have to pass on pies…yet you really don’t need to miss out. Maybe you haven’t found the right recipe, or don’t know the technique for making a proper, flaky crust. (Or maybe you haven’t found somebody to bake you one 😊).
That’s where this recipe comes in. It is perfect for your next pie-making adventure. Regardless of the filling, a perfect pie starts with the crust…and it is gluten-free! Whether you’re making a fruit-filled dessert, a savory dish filled with cheese and bacon, or a meat and vegetable pie, this gluten-free pie crust recipe provides the foundation for a great baking and eating experience.
If you’re new to gluten-free baking, it can seem daunting. But fear not! With a few tips and tricks, you can create a delicious gluten-free pie crust that will rival any traditional recipe. The key is to use the right ingredients and techniques.
First, let’s talk about flour. Gluten-free flours can be made from a variety of grains and nuts, each with its own unique flavor and texture. Some of the most common gluten-free flours include almond flour, coconut flour, rice flour, and oat flour. When selecting a flour, consider the flavor of your filling and how it will complement the crust. For example, almond flour has a nutty flavor that pairs well with fruity or chocolatey fillings, while oat flour has a mild flavor that works well with savory fillings. One of the reasons I like my gluten-free pie crust recipe is the traditional pie crust flavor that compliments both sweet and savory pie fillings.
Once you’ve chosen your flour, it’s important to keep in mind that gluten-free flour don’t behave the same way as wheat flour. Gluten is a protein that gives wheat flour its elasticity and structure, which can make gluten-free doughs and crusts crumbly or dense if not handled properly. To avoid this, it’s important to use a combination of flours and starches to mimic the texture and structure of wheat flour.
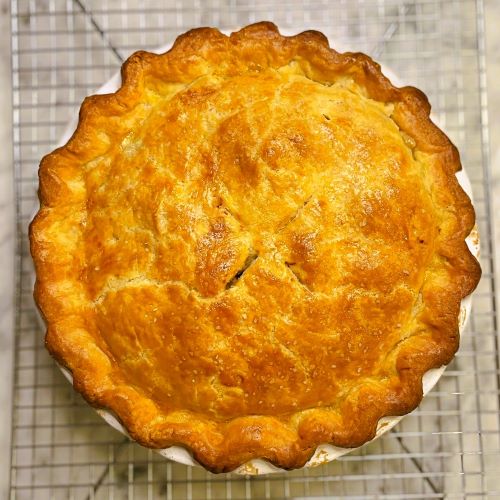
Flakey and Flavorful Gluten-Free Pie Crust
Description
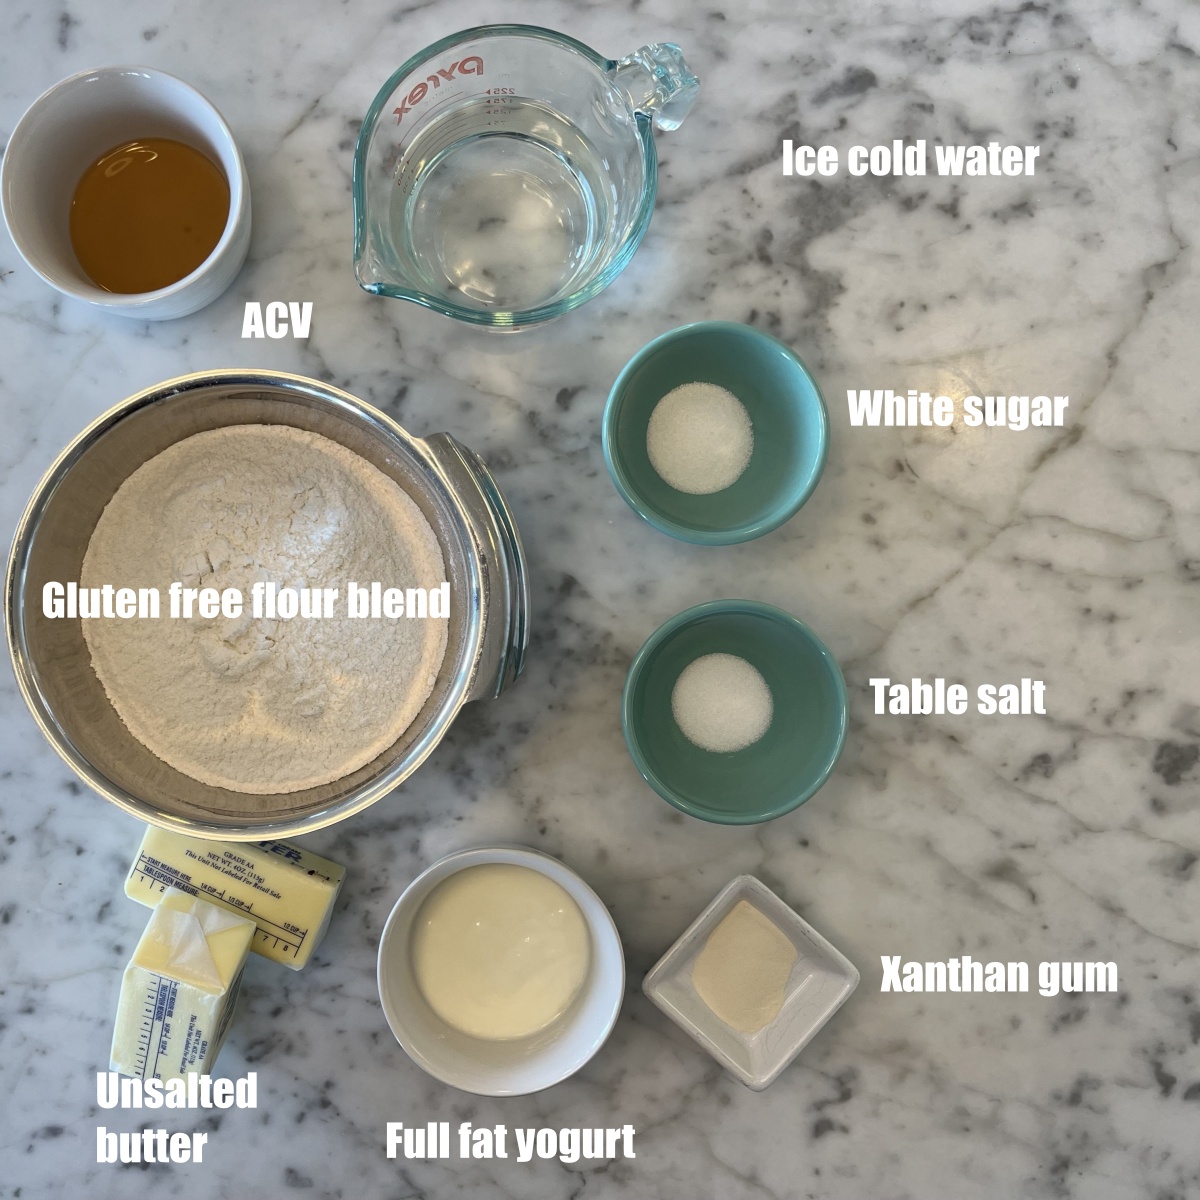
For this gluten-free pie dough recipe, we'll be using a flour blend that is a combination of white and brown rice flour, tapioca and potato starch, and millet flour. This combination provides a light and flaky texture that is perfect for both sweet and savory pies. It's also important to keep your ingredients cold, including the flour mixture, butter, and any liquids. This helps to prevent the butter from melting and ensures that your crust stays flaky and tender.
Ingredients
Instructions
-
Gather all ingredients
-
In a small bowl, mix the water, yogurt, and apple cider vinegar.
-
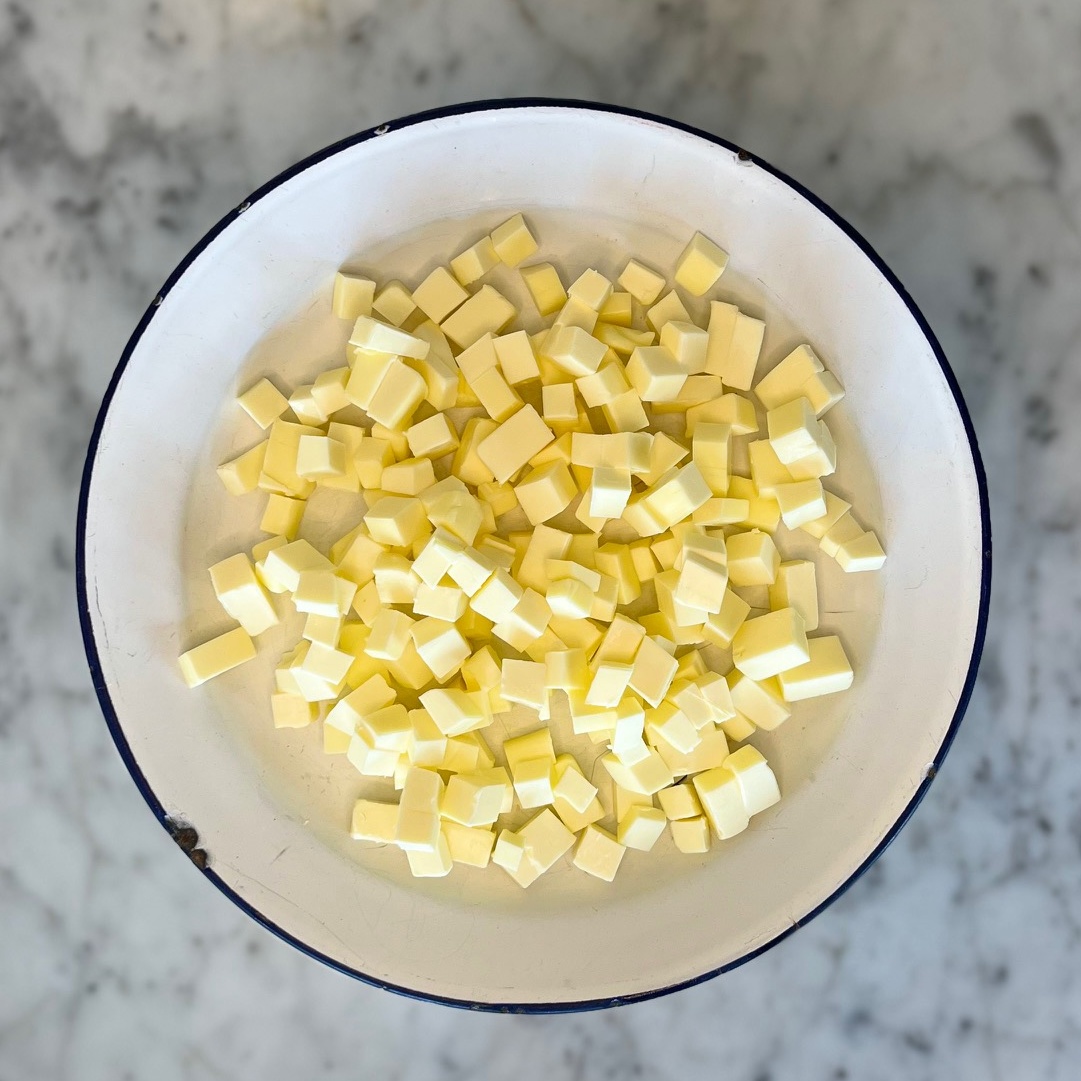
Place the cubed butter in the freezer for 15 minutes to chill.
-
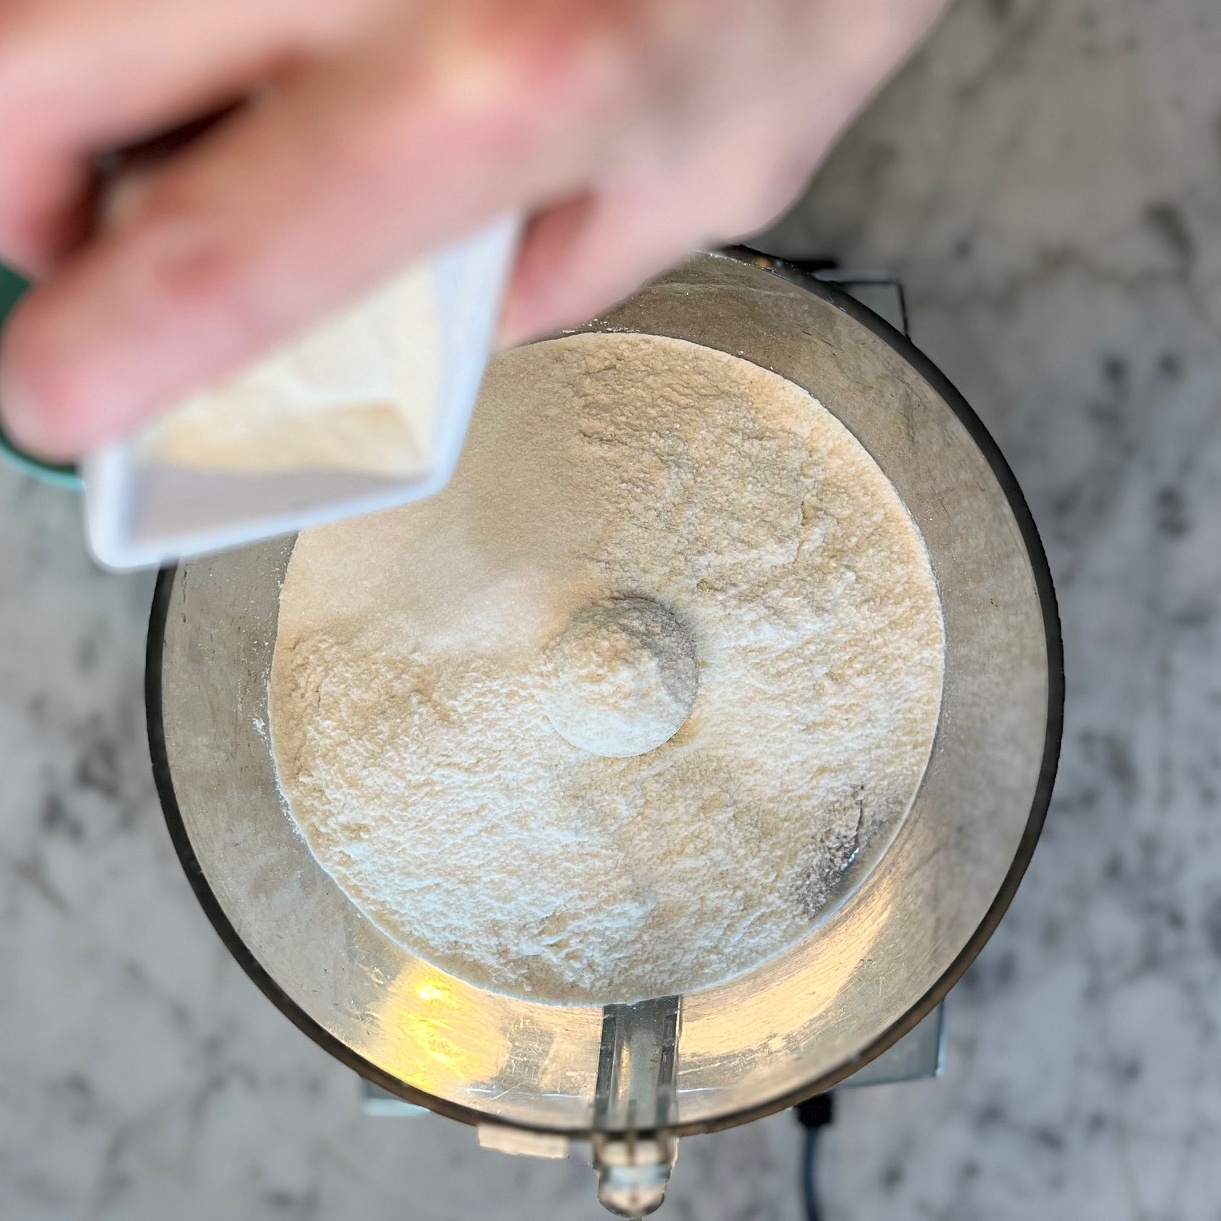
In a large bowl, whisk together the gluten-free flour blend, sugar, salt, and xanthan gum; or whisk together in a food processor until combined.
-
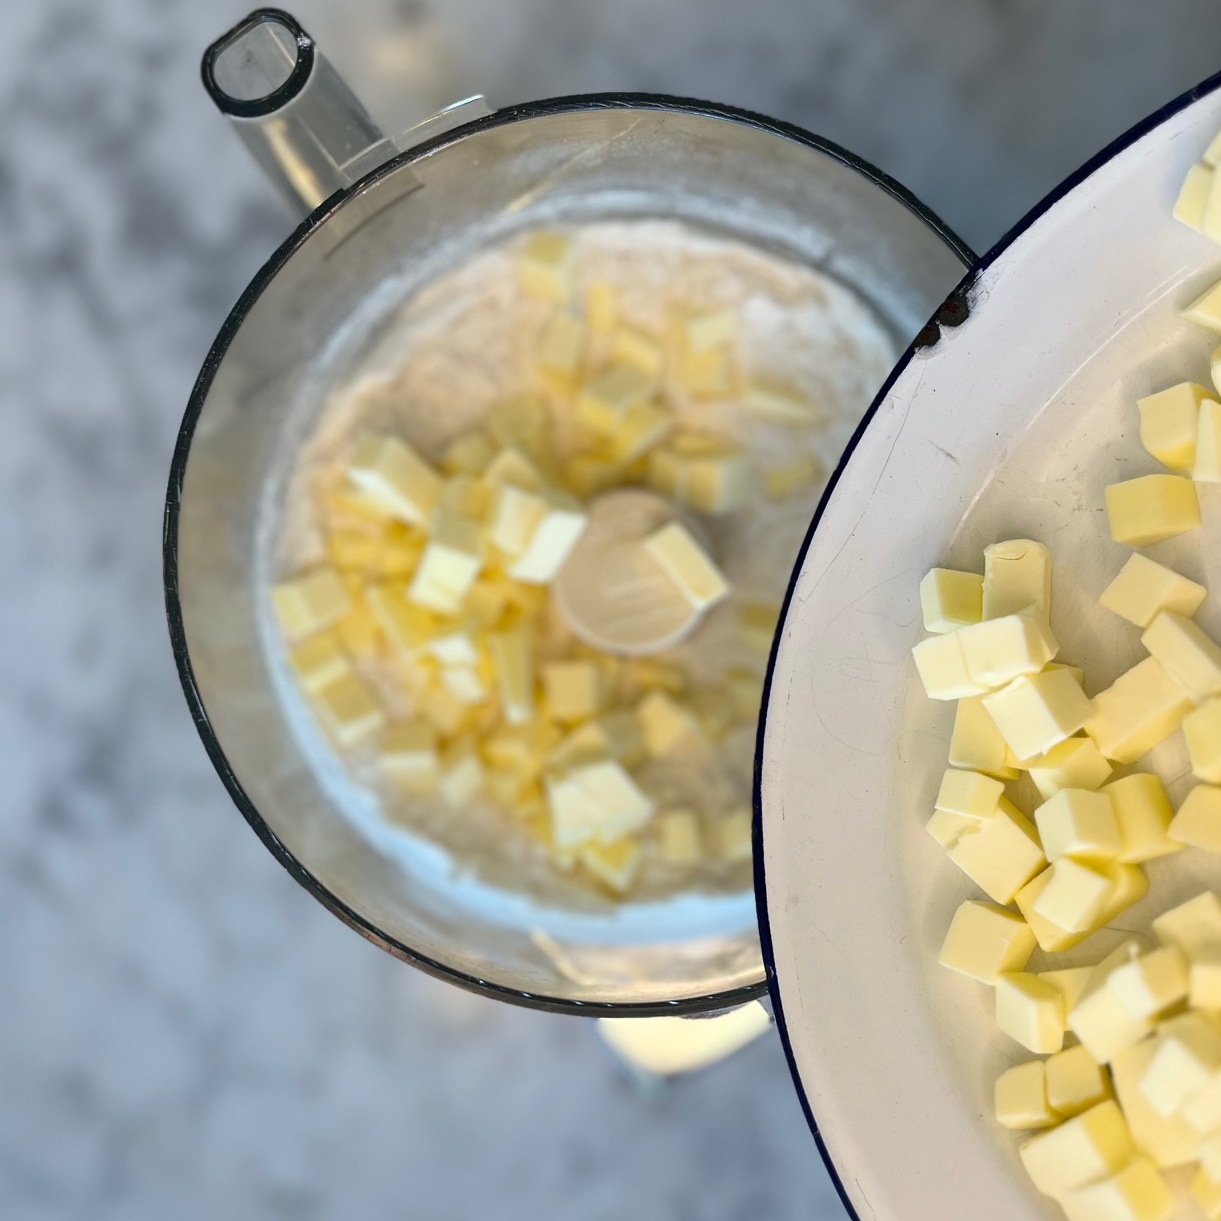
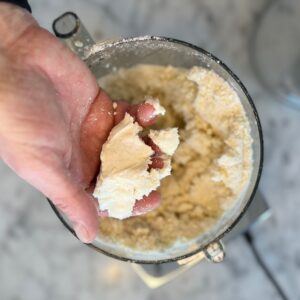
Add the chilled butter to the dry ingredients and use your fingers to press it into the flour mixture until you have pea-sized crumbles (you want to be able to see pieces of butter). Alternatively, use a food processor and pulse the butter into the flour mixture until you have pea-sized crumbs. Regardless of the method, do not over-mix.
-
Pour half of the liquid mixture over the dry ingredients and use a fork to bring the dough together. Add the remaining liquid mixture and continue to bring the dough together until it forms a loose ball. Alternatively, use a food processor, add half of the liquids and pulse 3 to 5 times, then add the second half and pulse an additional 3 to 5 times. Regardless of the method, do not over-mix.
-
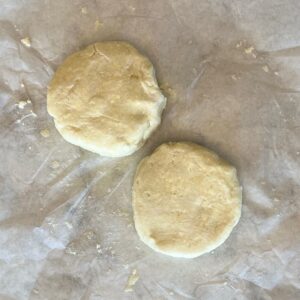
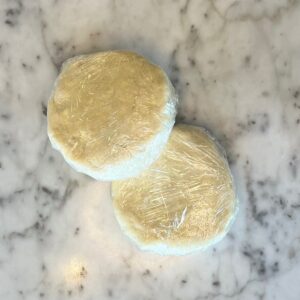
Turn the dough onto a sheet of parchment paper or plastic wrap and form it into a ball. Divide the ball in two and shape each half into a flat disk. Wrap each disk in plastic wrap and refrigerate for at least 1 hour.
-
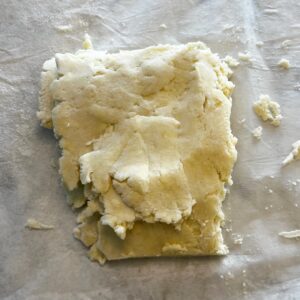
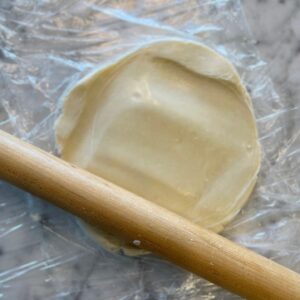
After 1 hour, remove the dough from the refrigerator and let it rest for 15-30 minutes. Roll out each disk of dough between two sheets of plastic wrap into a rectangular shape about 1/4-inch thick. Fold the dough over twice (in half and then in half again). Continue to roll out until you have a circle about 12 inches in diameter (about 1 inch larger than your pie plate). Place the rolled-out dough (still on a sheet of plastic wrap onto a cutting board or cookie sheet and refrigerate for 15 minutes – this helps dough hold together for transferring into a pie plate.
Prepare the second disk of dough while the first one chills in the refrigerator.
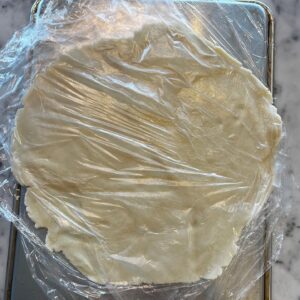
-
Remove the dough from the refrigerator, set the dough alongside of the pie plate, carefully fold it over and gently pull back the plastic wrap so that it is under the folded disk. Lift this onto the pie plate and bring the folded over side into the plate. Carefully pull the plastic out from under the dough and gently press the dough into the plate.
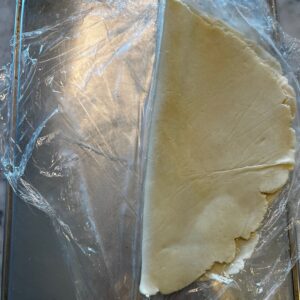
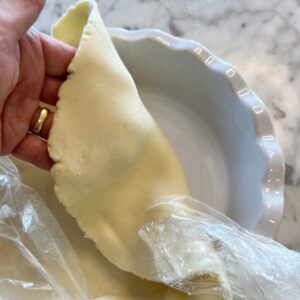
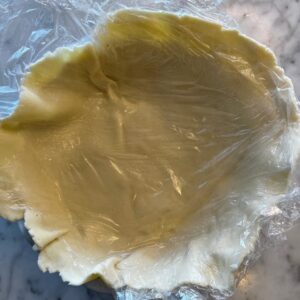
-
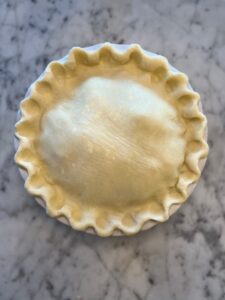
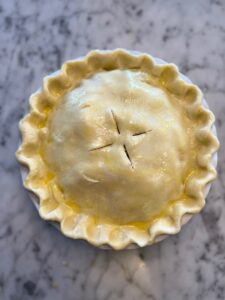
Trim the excess dough leaving about ½ to 1 inch. If making a single-crust pie, tuck the excess under to form an edge and crimp with your fingers or a fork. If making a double-crust pie, fill the pie with your desired filling and cover it with the second rolled-out disk of dough.
Once the second crust is on the pie, trim off the excess, fold over, and crimp to seal. Finish the double crust with an egg wash (one egg) and sprinkle with sugar (for a sweet pie) or salt flakes (for a savory pie).
-
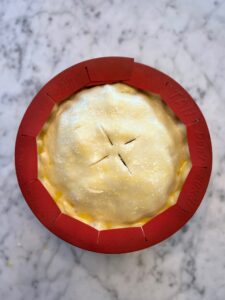
Preheat your oven to 400 degrees Fahrenheit. Place the pie on a foil or parchment-lined baking sheet (to catch drips). Place the pie and baking sheet onto a lower rack of your oven. Bake the pie for 15 minutes, then lower the temperature to 350°F and bake for an additional 45-60 minutes, until the filling is bubbly and the crust is golden brown. If the edges of the crisp begin to darken, cover with foil or a pie edge protector.
Note
* Gluten-Free Flour: Always measure GFFB with a food scale for best results, especially if you are using a gluten-free blend that is not listed as a one-to-one replacement. The blend I use weighs approximately 140 grams per cup. Check the measurements on the package of the brand you use. When using a measuring cup, do not scoop the flour with the cup, rather, add flour to the cup by the spoonful until overflowing and scrape off the excess.
I use a blend that I have modified, based on a recipe from ATK. The ATK recipe can be found in this cookbook. That blend does not contain xanthan gum, so I add it separately depending on the recipe.
There are many commercially available gluten-free flour blends at your local grocer, or online. Here are several that are available from Amazon:
King Arthur Measure for Measure Gluten-Free Flour
Bob’s Red Mill Gluten Free 1 to 1 Baking Flour
Cup4Cup Gluten Free Multipurpose Flour
All of these flours do contain xanthan gum. So if your recipe calls for xanthan gum, omit the extra xanthan if using one of these blends. All of the manufacturers promote these products as a one-to-one replacement.


