Growing up cherry pie was a family favorite and this Gluten-Free Cherry Pie recipe brings me back home!
My family had a prolific cherry tree that produced tons of sour pie cherries every summer. As a result we spent countless hours picking, washing, and pitting the cherries. Then we bagged and froze them for pies, cobblers, and a cherry compote made with tapioca. Each summer, we ended up with a stockpile that could feed an army – our family of eight! This craggy old tree was fun to climb and also provided ample ammunition for fun sibling cherry fights in our backyard.
Celebrate Cherry Pie Day
Recently, I discovered that February 20th is National Cherry Pie Day in honor of George Washington and Presidents Day. It’s a day to celebrate the fruity goodness that brings families together. In our case, helped us hone our tree-climbing, cherry-picking, throwing, and pitting skills! My modern take results in a delicious pie, using the best techniques I’ve developed over the years. Plus, it’s a favorite of one of my brothers, so you know my gluten-free cherry pie has got to be good!
The best part about sharing this recipe isn’t just the taste. It’s the memories it evokes. The smell of the pie baking instantly transports me back to those childhood days. Surrounded by family, laughter, and a mountain of cherries. I hope this gluten-free cherry pie brings a similar warmth and joy to your table. Create new memories to cherish for years to come. Whether you have your own cherry tree stories or are simply looking for a delicious dessert, I hope you’ll give it a try.
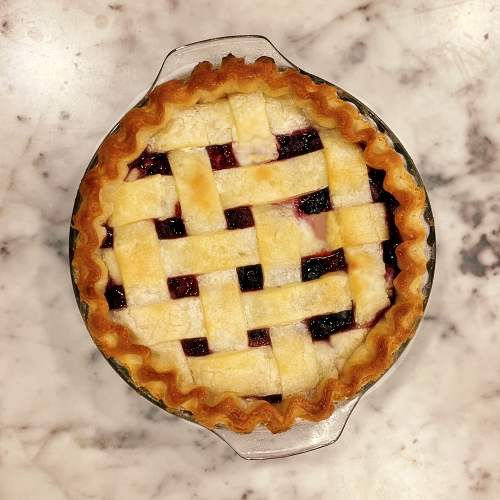

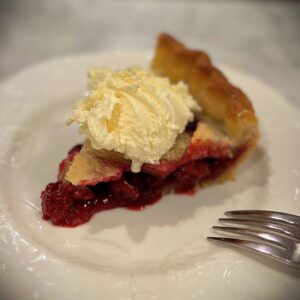
Gluten-Free Cherry Pie (Juicy Summer Classic with Buttery Crust)
Description
This gluten-free pie crust is perfect for a fruit pie and is both delicious and gluten free diet friendly. Perfect for those with gluten sensitivities or anyone looking for a tasty and healthier alternative. Try it today and taste the difference!
Ingredients
Pie Filling Ingredients
Pie Crust Ingredients
Instructions
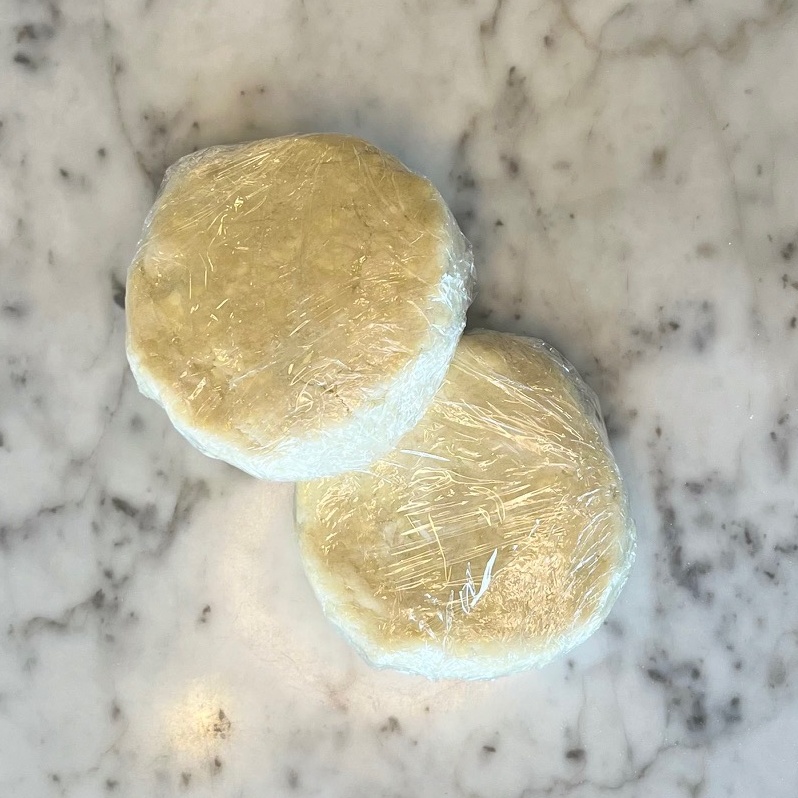
Gluten-Free Pie Crust
-
- Prepare gluten pie crust according to the recipe found here.
Cherry Pie Filling and Pie Assembly
-
- Gather all ingredients and preheat oven to 425 degrees Fahrenheit.
- In a bowl, combine cherries, sugar, cornstarch, lemon juice, and cinnamon. Set aside for 15 minutes.
- After 15 minutes, the cherry mixture will release excess liquid (especially if using frozen cherries). Strain to remove for a pie that is not soggy.
-
-
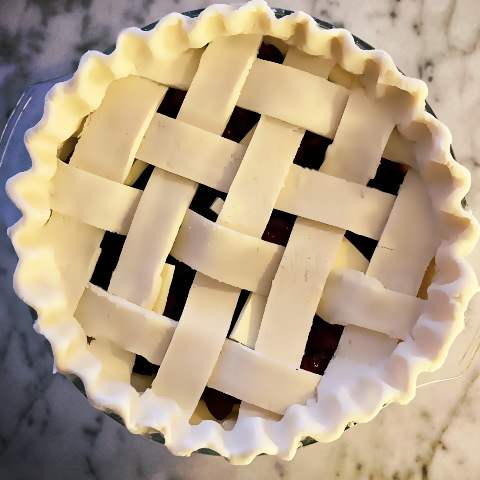
- Carefully place the bottom crust in a pie plate.
- Trim off excess dough from the edge leaving 1/2".
- Place the cherry mixture in the pie plate prepared with the bottom crust.
- Cut the butter into small pieces and place on top of the cherry mixture.
- Add the second crust to the top of the pie as a solid or use a lattice design.
- If you use a solid top pie crust, remember to add several slits to the crust to release steam. Crimp the edges.
- Using a pastry brush, brush the beaten egg over the crust and edges; sprinkle with sugar.
-
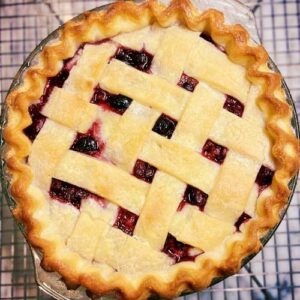
- Place in the oven on the middle rack for 25 minutes, place a rimmed cookie sheet lined with foil on the rack below to catch any juices.
- After 25 minutes, reduce the heat to 375 degrees Fahrenheit and bake unit the crust is golden and the cherries are bubbling. Begin checking at 25 minutes for doneness.
- Remove from the oven and let cool for at least 1 hour before serving.
Note
Cherries
I like to pack this pie with cherries. At a minimum use 6 cups. If you use frozen cherries, adding the sugar will draw out excess liquid. I like to let the cherries set with the sugar and then drain the excess. This ensures that the pie will not be soggy.
Gluten-Free Flours
When it comes to baking gluten-free, the type of flour you use can significantly impact the texture and flavor of your final product. Here are some important tips regarding gluten-free flours:
1. Homemade Flour Blend
I use a custom gluten-free flour blend that I make myself, which weighs approximately 140 grams per cup. This blend typically includes a mix of gluten-free flours such as white and brown rice flour, potato starch, tapioca starch, sorghum and milk powder, providing a balanced texture and flavor for baking.
2. Store-Bought Gluten-Free Flours
If you prefer to use a store-bought gluten-free flour blend, it's crucial to check the packaging for the weight per cup, as this can vary between brands. Each manufacturer may have a different formulation, which affects the density and weight of their flour.
Here are several that are available from Amazon:
- King Arthur Measure for Measure Gluten-Free Flour
- Bob’s Red Mill Gluten Free 1 to 1 Baking Flour
- Cup4Cup Gluten Free Multipurpose Flour
None of these flours contain xanthan gum. So if your recipe calls for xanthan gum, omit the extra xanthan if using one of these these blends. All of the manufacturers promote these products as a one-to-one replacement.