

Gluten-Free Spicy Italian Galette – A Slice of Summer (and a Little Spice) in Every Bite
In this post: Gluten-Free Spicy Italian Galette
- Ingredients to make this galette
- Equipment you’ll need
- Substitution ingredients
- What to serve with this galette
- Why you’ll love it
- Jump to the recipe
- Leave a comment
Market Inspiration Meets Weeknight Reality
There’s nothing like Pike Place Market on a Saturday—Seattle’s iconic chaos in full swing, neon signs buzzing, and produce stands overflowing with color. I found myself chatting with a vegetable vendor who could probably write a book on asparagus varieties alone. The stories, the laughter, the sheer variety of what’s in season—you just don’t get that in a fluorescent-lit grocery aisle.
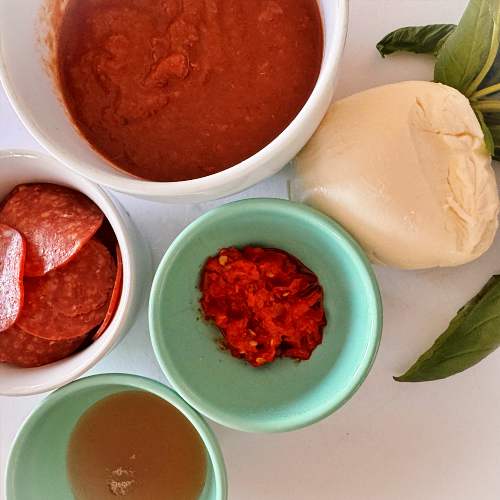
That market energy stuck with me all the way home. But let’s keep it real: when dinner rolls around, I’m not willing or able to slow-roast tomatoes or simmer sauce for hours. This Gluten-Free Spicy Italian Galette is what happens when market inspiration meets weeknight practicality. I grabbed a good jar of marinara, fresh mozzarella, creamy ricotta (mine was homemade 😀), and a handful of spicy pepperoni. A little Calabrian chili paste for heat mixed in with a drizzle of honey for balance, and suddenly, pizza night is getting a serious upgrade—no pizza stone required.
Why This Gluten-Free Spicy Italian Galette Works
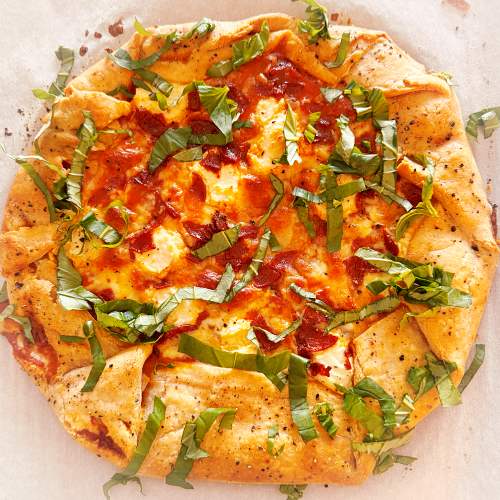
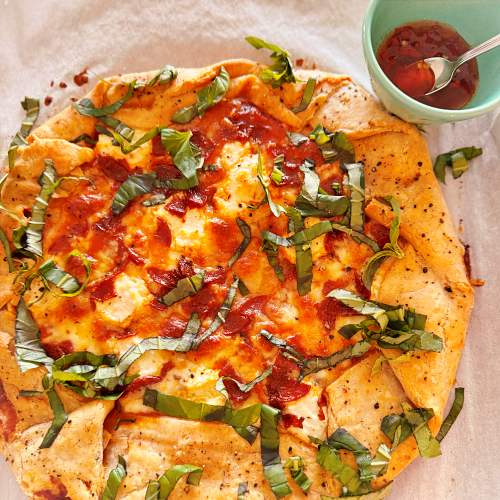
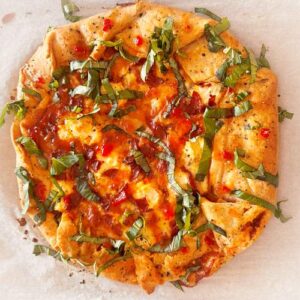
Galettes are the ultimate “no rules” dinner. Their rustic shape shrugs off perfection, and the gluten-free crust bakes up crisp and golden every time. Inside, you get layers of creamy ricotta, gooey mozzarella, and pepperoni. The Calabrian chili paste brings a gentle fire, while honey smooths it all out. Fresh basil on top? That’s the market talking.
Easy, Cheesy, and Just a Little Spicy
This galette is proof that you can channel market magic without a chef’s degree—or a day off. Use the best jarred marinara you can find, and don’t stress if your crust isn’t a perfect circle. The joy is in the making (and the eating). Serve it up with a crisp salad or roasted veggies, and you’ve got a meal that feels special, even on a Monday.
A Note on Inspiration
Sometimes, the best recipes start with a conversation and a pile of produce. This Gluten-Free Spicy Italian Galette was sparked by a morning at Pike Place, but it’s made for real life. Good ingredients, a little kitchen curiosity, and permission to take a shortcut or two—that’s my kind of cooking.
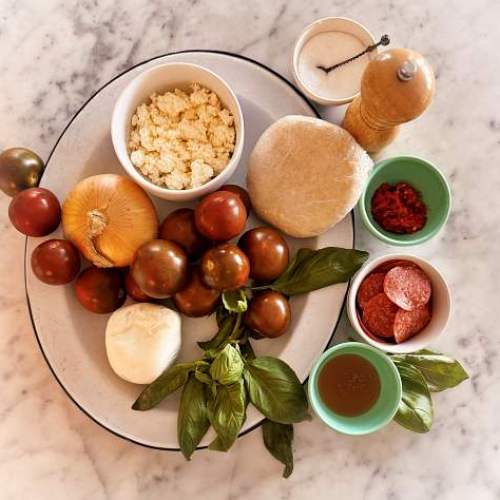
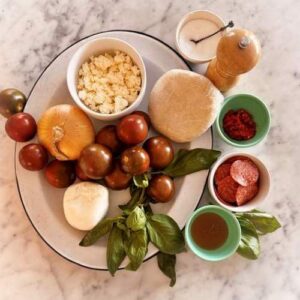
Gluten-Free Spicy Italian Galette Ingredients
- Gluten-Free Dough (½ recipe): The backbone of your galette. Sturdy enough to hold all the good stuff, but tender enough to flake under your fork. Use your favorite homemade recipe or a reliable store-bought version-no judgment here. (Follow the instructions found here for my gluten free pie dough recipe.)
- Half & Half (about 1 tablespoon): Makes the crust all shiny and irresistible. Used to brush the crust before baking, giving it a golden sheen and a slightly richer flavor. This adds a luxurious touch to the rustic presentation of the galette.
- Olive Oil (1-2 tablespoons): Adds a fruity, earthy flavor and helps prevent a soggy bottom on your crust.
- Marinara Sauce (1 cup): A rich, tangy tomato base that brings classic Italian flavor.
- Mozzarella (4-8 oz. sliced): Melts into gooey, stretchy perfection for that authentic pizza feel.
- Ricotta (1 cup fresh): Creamy and mild, it balances the other bold flavors.
- Pepperoni (4 oz chopped): Salty, spicy, and utterly irresistible.
- Honey (3 tablespoons): Drizzled on top for a touch of sweetness that cuts through the heat.
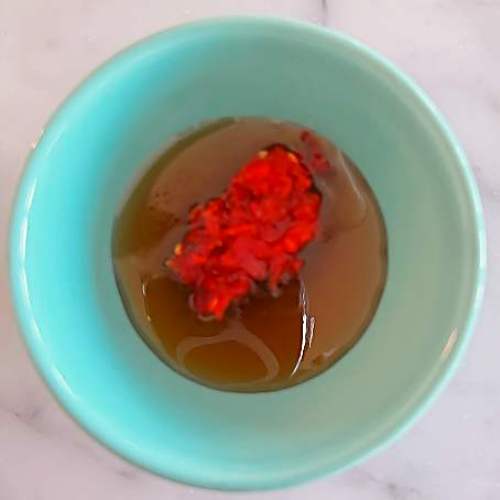
- Calabrian Chili Paste (½-1 teaspoon): Mixed with the honey, adds a smoky, fiery kick that elevates the whole dish.
- Fresh Basil Leaves (handful, chopped): Bright, aromatic, and the perfect finishing touch.
- Salt and Pepper: Not just seasoning-these are the unsung heroes that make every ingredient sing. These are the secret to balanced, crave-able flavor.
Equipment
- Rolling Pin: For rolling out the galette dough to the perfect thickness.
- Baking Sheet: You’ll need a sturdy baking sheet to help your gluten-free spicy italian galette bake up evenly and get that perfect golden crust.
- Parchment Paper: My insurance policy against galette disasters. Let’s keep the pan spotless for minimal cleanup.
- Mixing Bowl: For combining ricotta and other fillings.
- Knife and Cutting Board: For chopping pepperoni and basil, as well as slicing the mozzarella.
- Small Bowl and Pastry Brush: For brushing the crust with a wash for a golden finish.
- Oven: The heart of the kitchen. Where all the magic happens.
Substitutions
- Gluten-Free Dough: Use your favorite store-bought or homemade gluten-free pizza dough.
- Marinara Sauce: Substitute with your preferred tomato or pizza sauce. (Or if you are inspired and time permits… make your own.)
- Mozzarella: Swap for provolone or fontina for a different melt.
- Ricotta: Cottage cheese (drained) can stand in for ricotta in a pinch.
- Pepperoni: Use salami or cooked Italian sausage for a twist.
- Honey: Maple syrup or agave can replace honey for a vegan option.
- Calabrian Chili Paste: Substitute with crushed red pepper flakes or sriracha for heat.
- Fresh Basil: Use dried basil (1 tsp) if fresh isn’t available.
What to Serve With Gluten-Free Spicy Italian Galette
- Mixed Green Salad: A fresh green salad with a bright shallot vinaigrette adds a pop of color and zesty flavor. It balances the richness of the galette and makes the meal feel elevated.
- Roasted Vegetables: Seasonal veggies that can add colorful sides that add a tender crunch and a touch of sweetness to your plate.
- Garlic Bread: For those who can’t resist a little extra carb action.
- White Wine: A dry Italian white pairs perfectly with the zesty flavors.
Reasons to Love This Recipe
- Gluten-free and delicious: No compromise on taste or texture… plus you get all that chewy, cheesy goodness.
- Easy to make: No fancy equipment or skills required. You can elevate it with homemade sauce, but store bought still keeps you in “hero” status.
- Versatile: Swap ingredients based on what you have on hand.
- Perfect for sharing: Great for gatherings, picnics, or weeknight dinners.
- Unexpected flavors: The honey and chili paste add a unique twist.
- Rustic Charm: The galette’s rustic appearance and free-form shape add to its appeal. It’s an inviting and visually pleasing dish that feels cozy and comforting, perfect for sharing with friends and family.
- Pizza Pizzaz!: Is it a pizza? Is it a galette? All I know is it delivers on flavor.
- Easy to Customize: You can make this galette your own by swapping in your favorite cheese or herbs, so it’s a little different every time.
- Adaptable for Dietary Needs: Did I mention you can make it dairy-free, vegan, or incorporate other dietary restrictions by choosing suitable substitutions.
- Great for Any Meal: Whether it’s brunch, lunch, or a light dinner, this galette fits right in—perfect for sharing or enjoying solo.
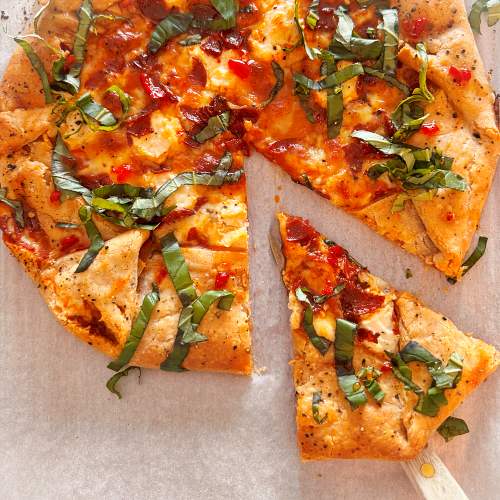

The Best Homemade Gluten-Free Spicy Italian Galette
Description
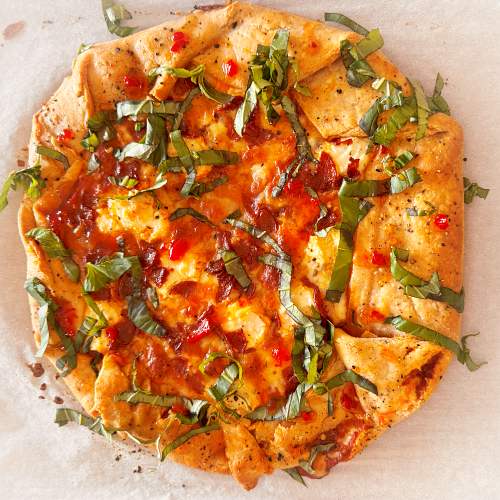
Rustic Gluten-Free Caramelized Onion and Arugula Galette Needs to be on your Recipe to do List!
Ingredients
Gluten Free Dough
Galette Filling
Instructions
Prepare the Gluten-Free Crust
-
- Prepare a single gluten-free pie crust according to the recipe found here.
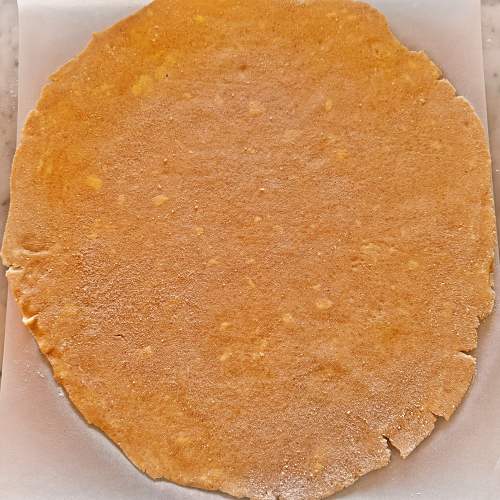
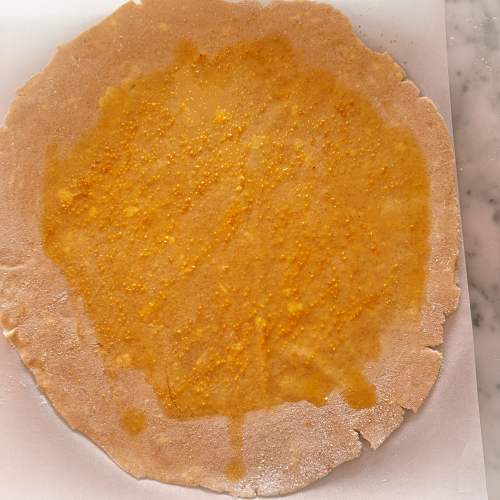
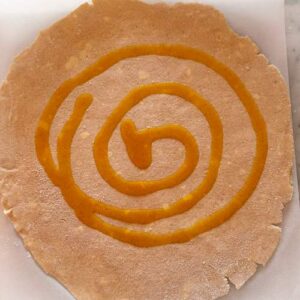
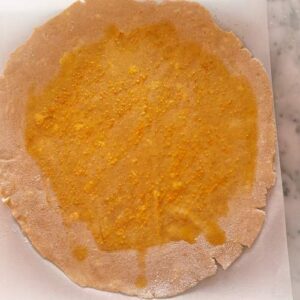
- Roll out the gluten-free pastry dough to a thickness of about 1/8" into a circle approximately 14” in diameter.
- Line a baking sheet with parchment paper; Transfer the rolled out dough to the prepared baking sheet.
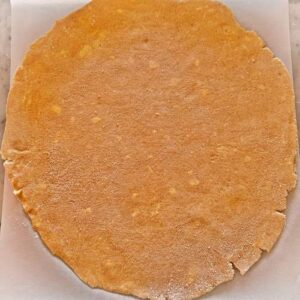
Assemble the Galette
-
- Gather your ingredients and preheat your oven to 375°F (190°C).
- Roll out your gluten-free pie crust on the parchment-lined baking sheet. (See above)
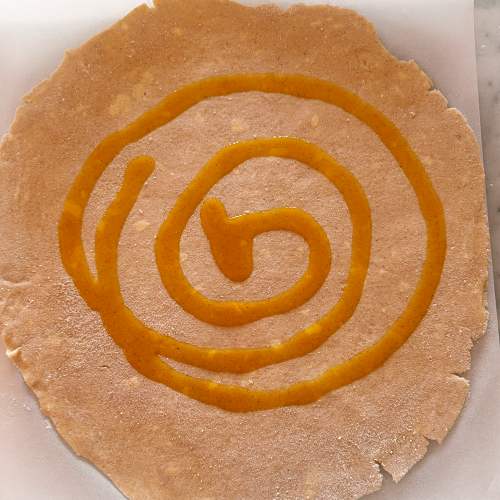
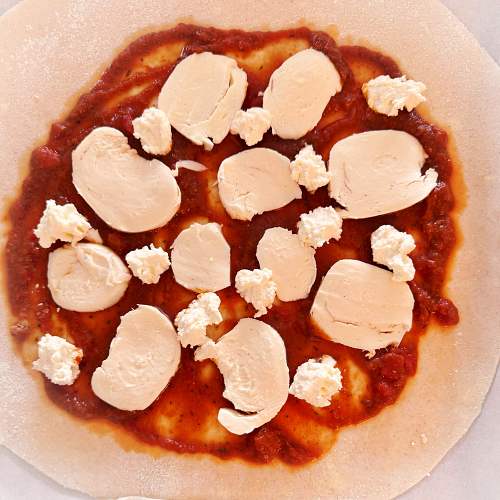
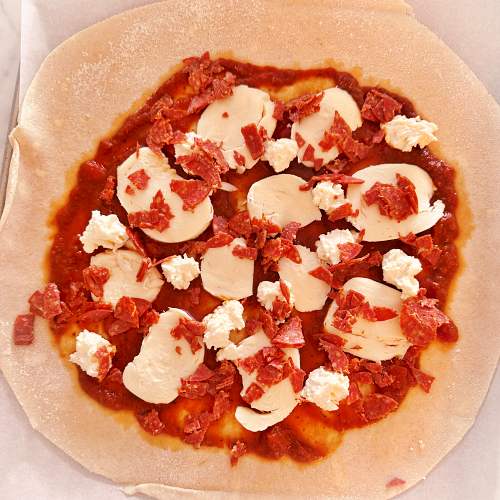
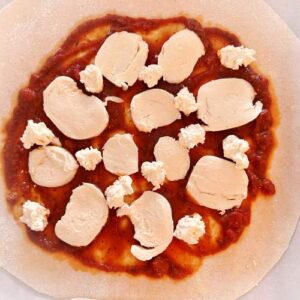
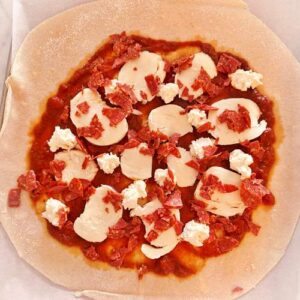
- Layer Marinara sauce, mozzarella, ricotta cheese and chopped pepperoni in the center, leaving a 2-inch border.
Fold and Bake
-
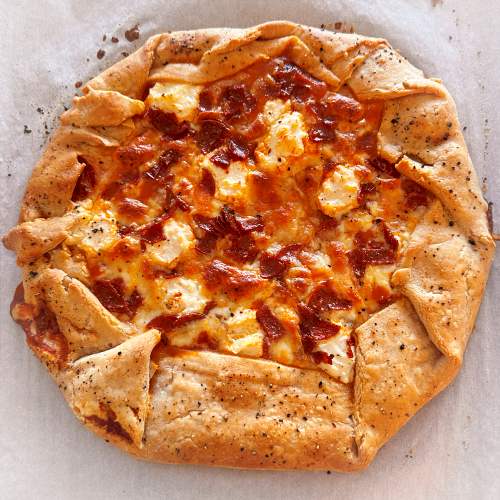
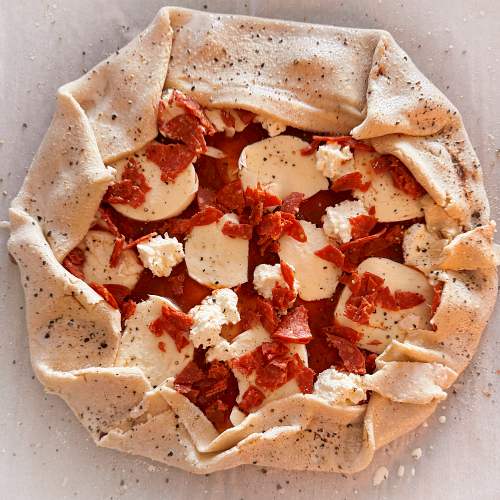
- Fold the edges of the dough over onto the filling, remember perfection is not your guide here…it is meant to be rustic.
- Brush the folded dough edges with half and half (for that bakery window sheen) and sprinkle with salt and pepper to taste.
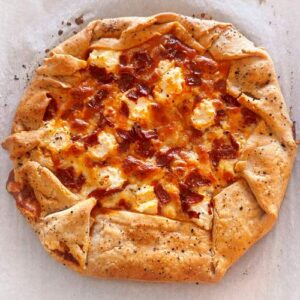
- Bake in the preheated oven for 30-35 minutes, or until the crust is golden brown and the cheese is melted and bubbly. The smell alone will make you drool.
Serve and Enjoy
-
- Remove the galette from the oven and let it cool for a few minutes.
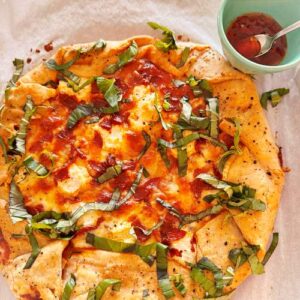
- Combine honey and chili paste/sauce in a small bowl.
- Top the galette with fresh arugula.
- Drizzle honey/chili on top of the galette.
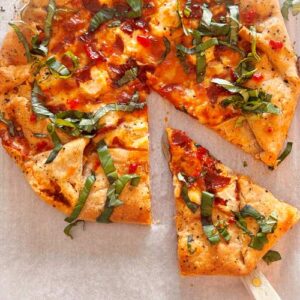
- Slice and serve warm-because nobody likes a cold galette.
- Slice, serve, and savor the flavors.

Note
Gluten-Free Flours
When it comes to baking gluten-free, the type of flour you use can significantly impact the texture and flavor of your final product. Here are some important tips regarding gluten-free flours:
1. Homemade Flour Blend
I use a custom gluten-free flour blend that I make myself, which weighs approximately 140 grams per cup. This blend typically includes a mix of gluten-free flours such as white and brown rice flour, potato starch, tapioca starch, sorghum and milk powder, providing a balanced texture and flavor for baking.
2. Store-Bought Gluten-Free Flours
If you prefer to use a store-bought gluten-free flour blend, it's crucial to check the packaging for the weight per cup, as this can vary between brands. Each manufacturer may have a different formulation, which affects the density and weight of their flour.
Here are several that are available from Amazon:
- King Arthur Measure for Measure Gluten-Free Flour
- Bob’s Red Mill Gluten Free 1 to 1 Baking Flour
- Cup4Cup Gluten Free Multipurpose Flour
None of these flours contain xanthan gum. So if your recipe calls for xanthan gum, omit the extra xanthan if using one of these blends. All of the manufacturers promote these products as a one-to-one replacement.
3. Measuring for Accuracy
For the most accurate results, I highly recommend using a digital food scale to measure your gluten-free flour. Measuring by weight ensures that you have the correct amount, leading to more consistent and successful baking outcomes. This method eliminates the variability that can come from measuring by volume, especially with gluten-free flours, which can be compacted or aerated differently.
By paying attention to these details, you'll set yourself up for success. Happy baking!
Leave a Comment